

In the Garden: DIY Kid's Playground Renovation
Well, since I ran out of projects to work on inside the house, I decided to take my creativity outside. Since these days of quarantine have forced us to get creative in how we’re spending our time, I thought, why not “renovate” the kids’ playground?
We bought this playground 5 years ago when we moved into this home. My husband and his cousin put it together and it’s been such a blessing to have in our yard, especially now that Coco is big enough to climb and slide all by herself! The original color of it wasn’t terrible by any means, but if you know me, you know my design thang is always, black + white. So that’s the theme I went with in its design!
I started with the white paint all over, this exterior semi-gloss paint that I purchased at Home Depot. It has a primer mixed in already, so that’s technically one less step, but it took me about 3 coats to get the wood to that perfect shade of white.


Thanks for your help hunny!
After painting the white portions, I started on the parts of the playground that I wanted in black. It was something I really had to think about in regards to how the design would ultimately look. I decided on using black on the parts that get the most foot traffic, and the smaller details of the structure, like the windows and the window ledge in the front.


And naturally, the roof was painted black. Thanks for your help hunny!

All About the Details!
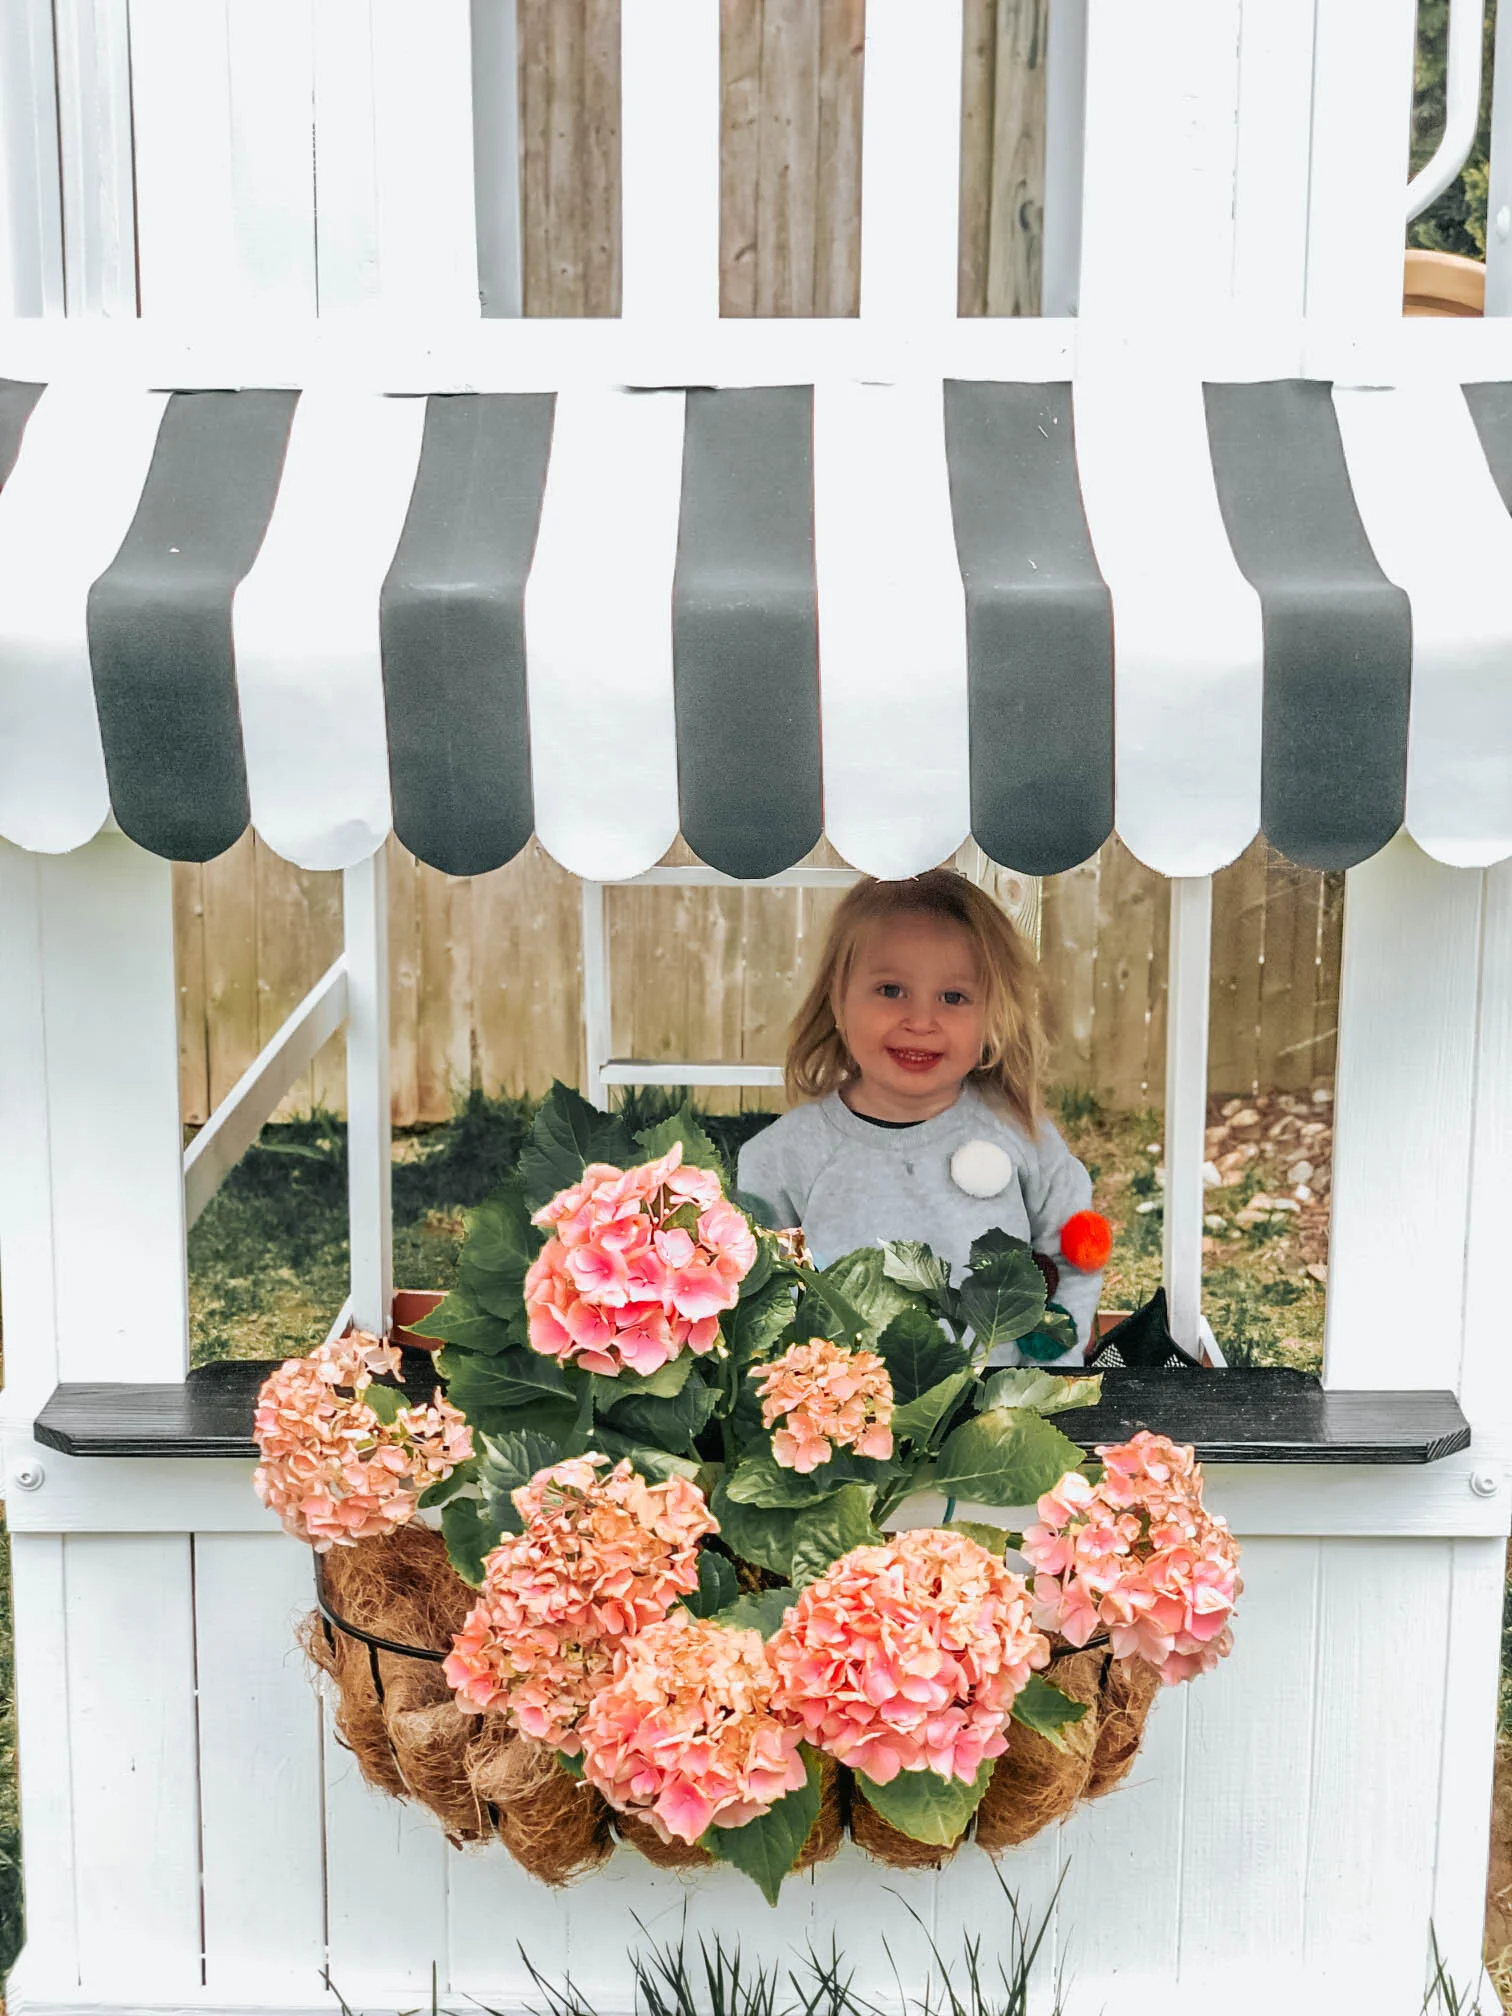
It’s all about the details as I always say, and even this small structure is filled with them! The awning above the main window was one of the details that I was really excited about… I just thought it would look so cute and charming!

The boys even got in on the painting!


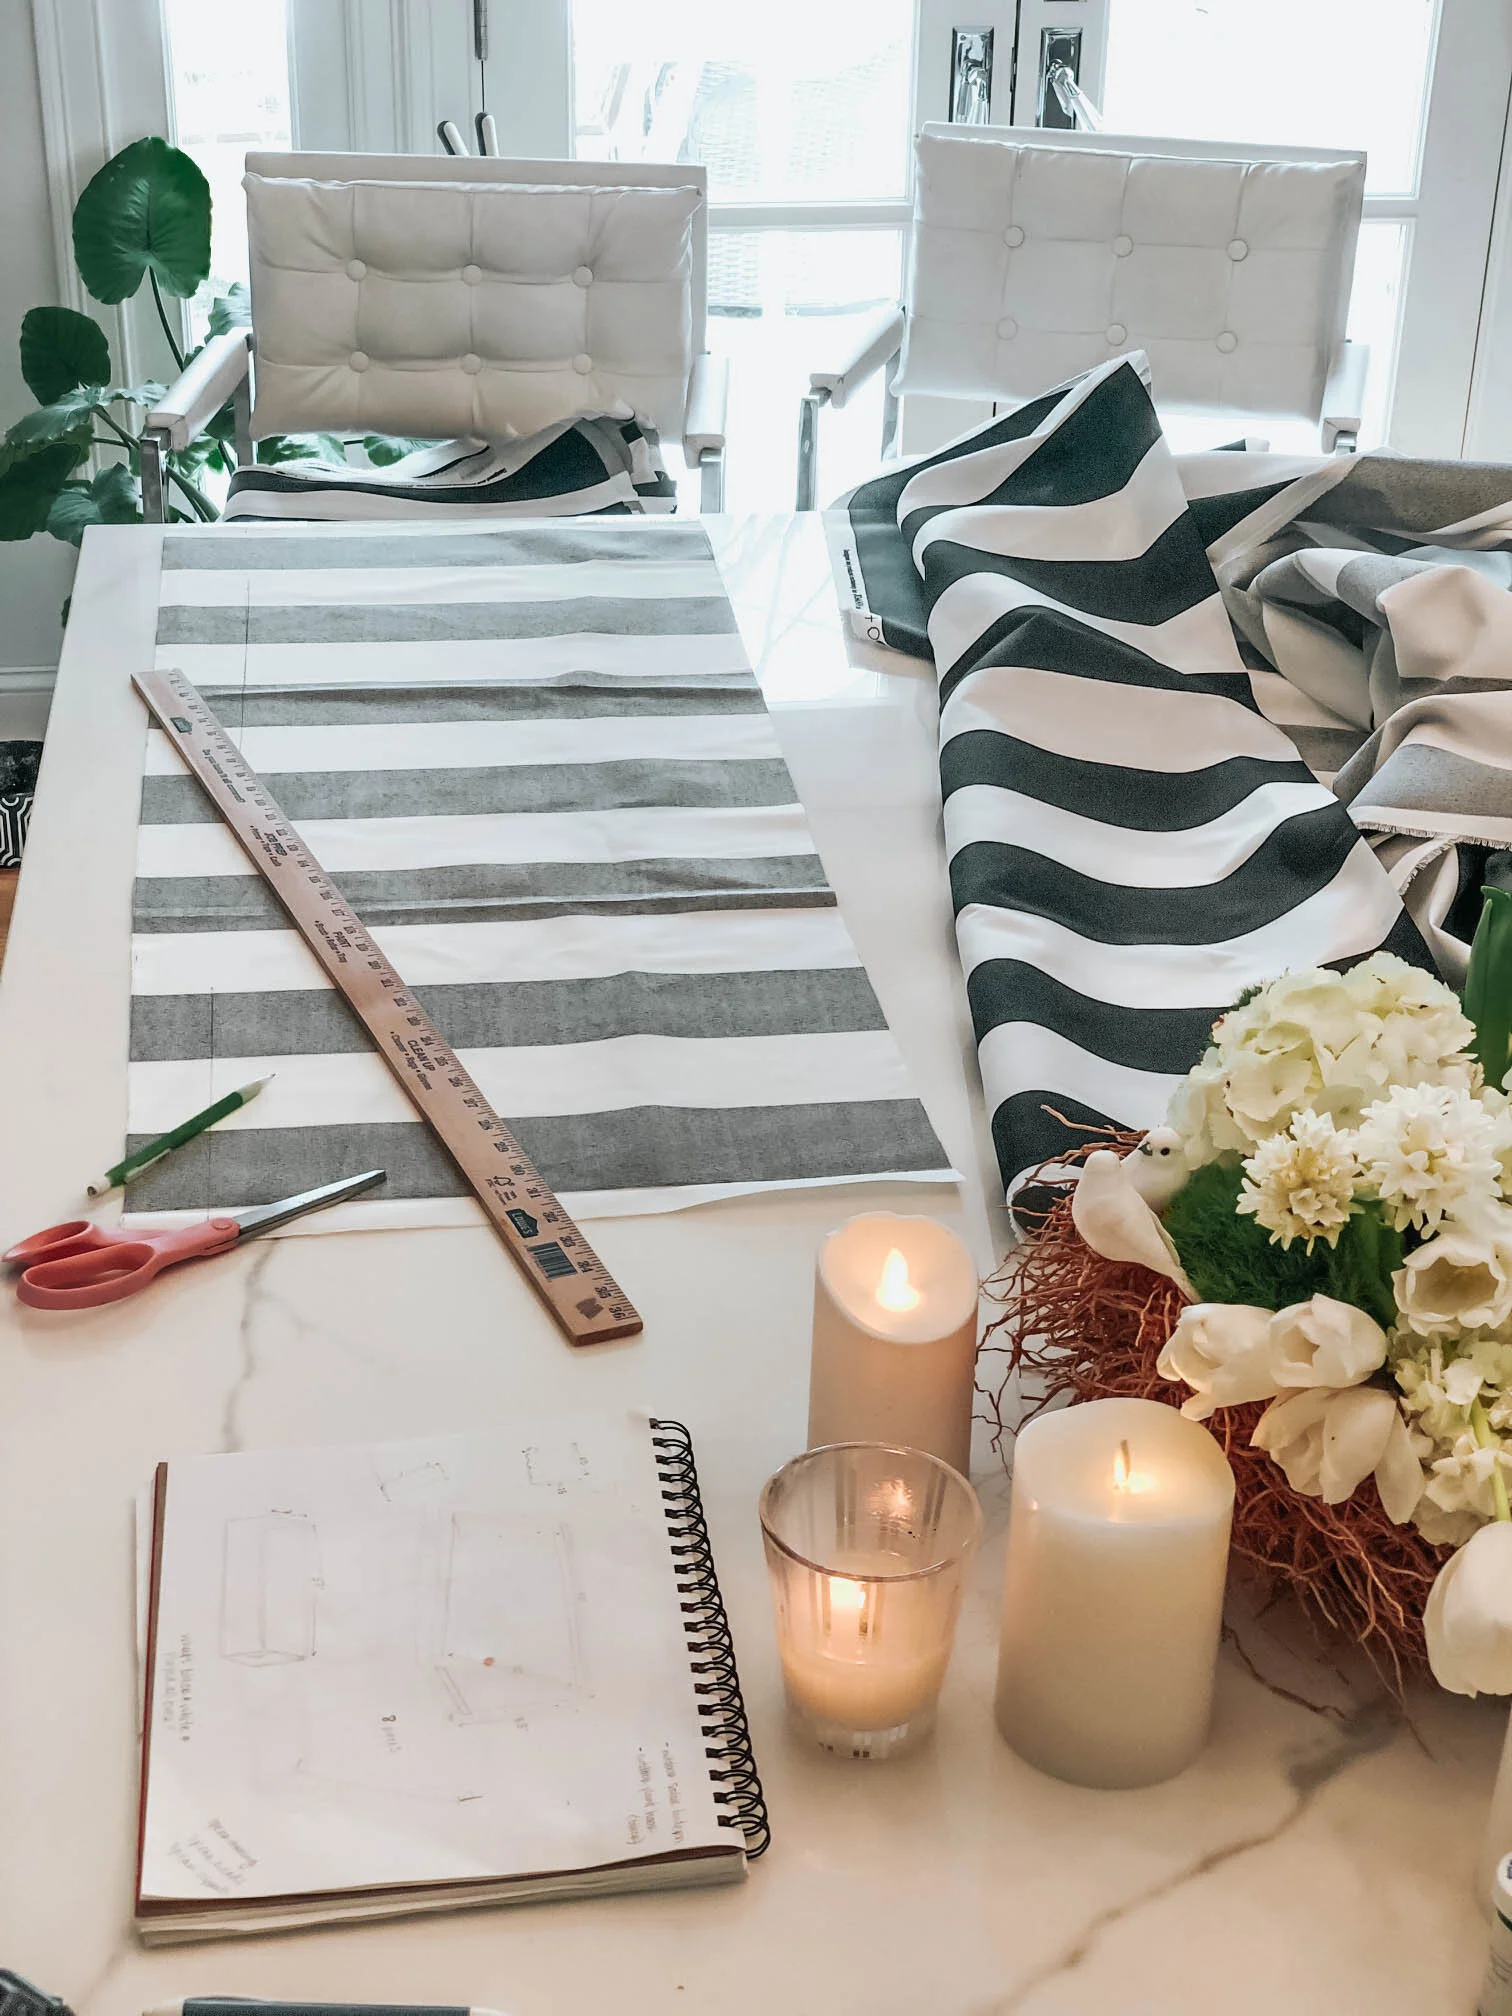
I had this Sunbrella fabric leftover from another project… just the pattern I needed for this awning! I measured all the sides and went to work.
And underneath the window and awning, who wouldn’t want a pretty window box installed? I originally wanted to build my own, but found this one that I actually liked better, less than $30 from Home Depot!


Now to tackle the slide and the climbing rocks. I wanted to make these two points really special and decided on adding a touch of gold to them! I tried out two different spray paints and settled on this Rust-oleum one because it didn’t scratch or peel off.


The space under the playground was just dirt that wasn’t very appealing to look at. I couldn’t plant grass in there because it doesn’t get enough sunlight, and I didn’t want to pour sand in there because I’m almost 100% certain that that sand would’ve been scattered throughout my yard in less than a day… Solution? I found this super cute rug at Target, in the same black and white theme, and it fit into the space almost perfectly!

And the final touch were these two lanterns that my husband affixed to the sides of the “balcony.” I searched for a while for the perfect ones - I wanted a look that would match the style of the whole playground, and I also really wanted them to light up at night… but didn’t want to deal with turning them on and off, so they had to be solar powered. I found these on Target.com and I think they look pretty darn cool… especially lit up at night!

BEFORE~

AFTER~

BEFORE~

AFTER~


Project complete! I started this project on April 4th and in between all the rainy and cold days, the days I had the energy to go out and paint and tape and drill, I finally finished my last project at our home.
I hope this inspires you to do something fun, something creative, something that anyone can do! A few buckets of paint, a few brushes, some fun little details and of course, a few extra hours on your hands (which we all have right now), you too can create this fun playground for your kiddos!
If you have any questions about any of the details, please feel free to DM me on Instagram or send me an email! Happy painting!


